Buddhist Mountain Monasteries in Korea
Tongdosa Temple
Tongdosa Temple
Introduction
Natural Environment
History
Temple Layout
Cultural Properties
Information
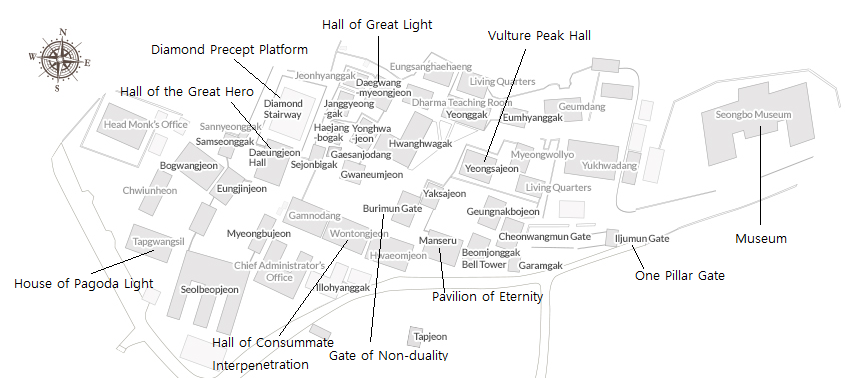


Layout of Tongdosa Temple
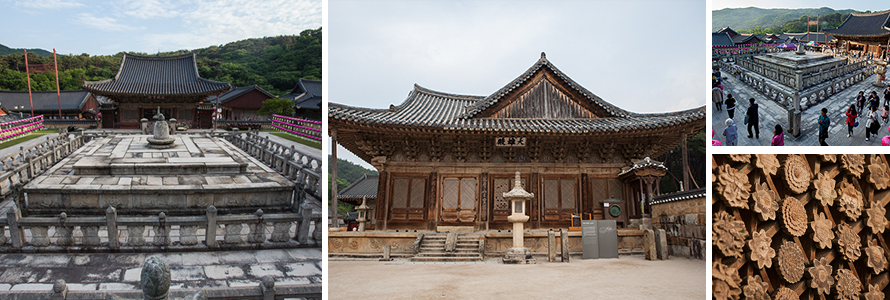
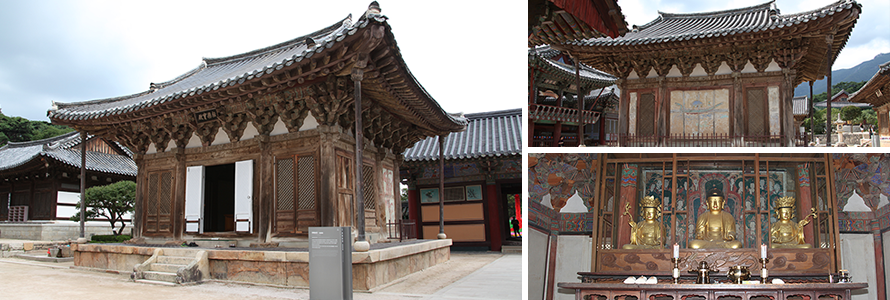
- Diamond Stairway and Daeungjeon Hall
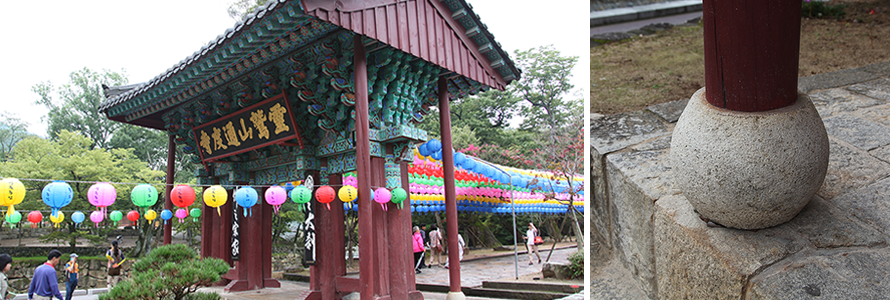
- Iljumun Gate
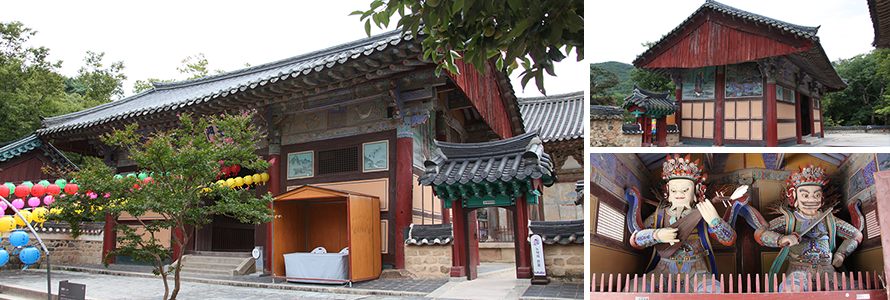
- Cheonwangmun Gate
- Beomjonggak Bell Tower
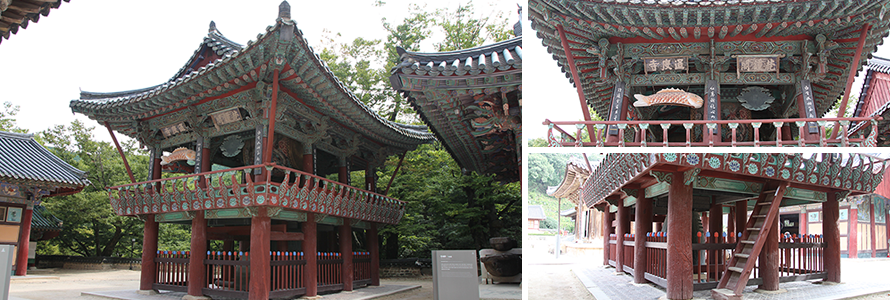
- Manseru
- Garamgak
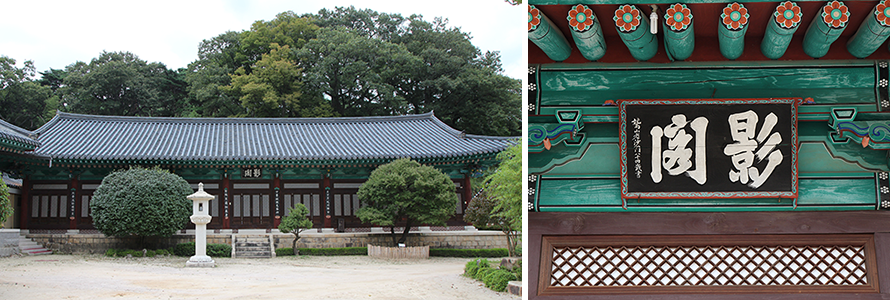
- Yeongsajeon
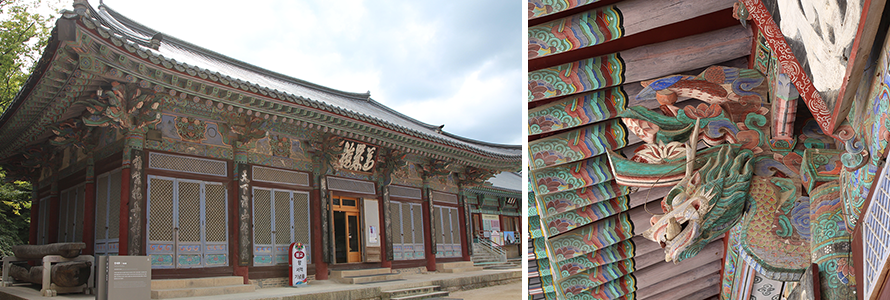
- Geungnakbojeon
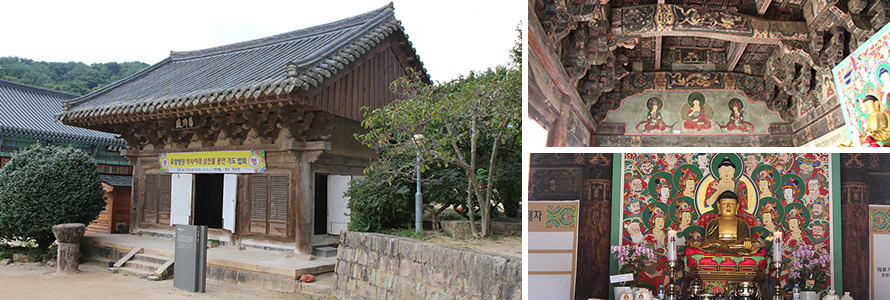
- Yaksajeon
- Burimun Gate
- Gwaneumjeon
- Yonghwajeon
- Daegwangmyeongjeon
- Gaesanjodang and Haejangbogak
- Janggyeonggak
- Sejonbigak
- Myeongbujeon
- Eungjinjeon
- Samseonggak
- Yeonggak
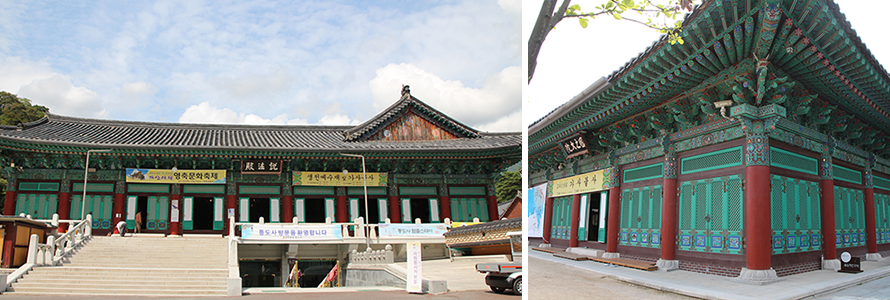
- Seolbeopjeon
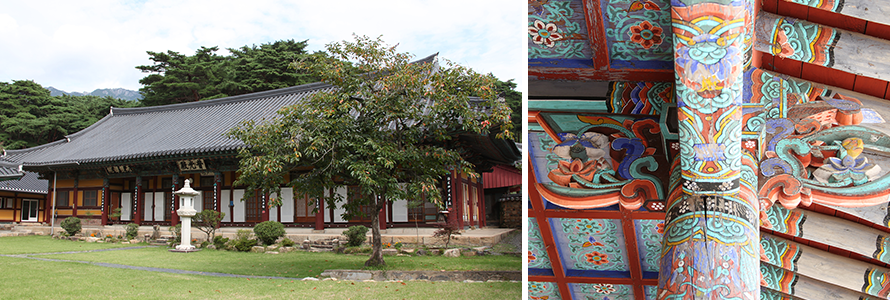
- Bogwangjeon
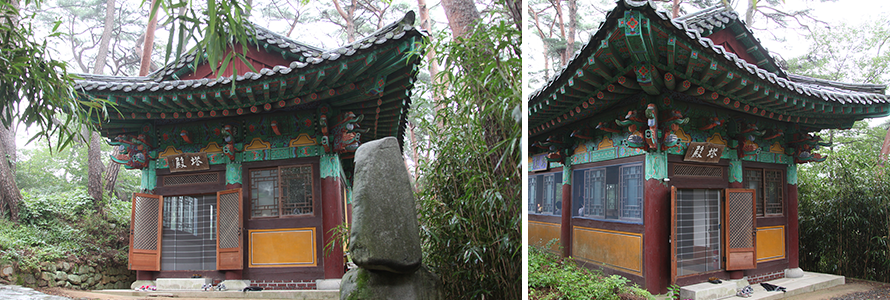
- Tapjeon
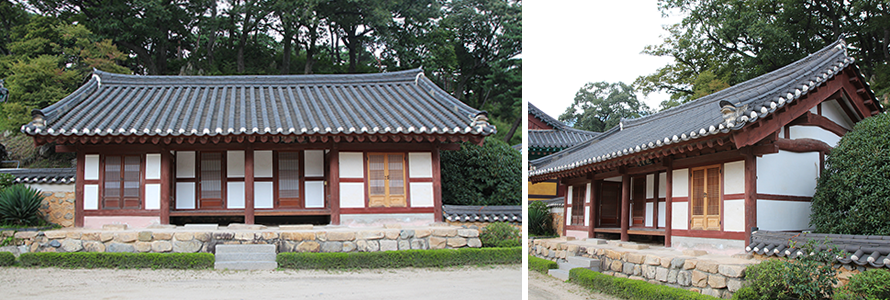
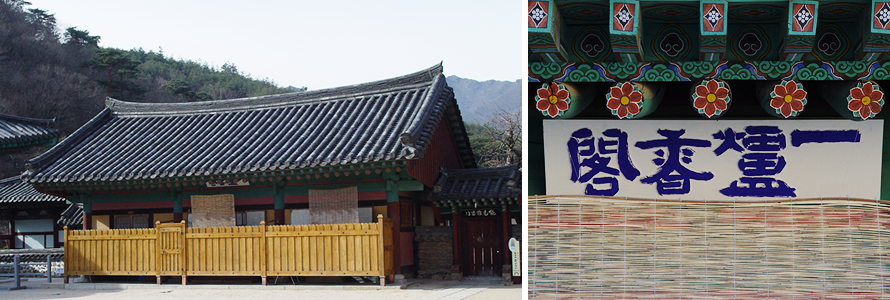
- Eumhyanggak
- Illohyanggak
- Hwanghwagak
Tongdosa Temple is divided into three areas, along the axis created by the large stream of the Yeongchuksan Valley. The Diamond Stairway, enshrining the genuine sarira of the Buddha, and Daeungjeon have high architectural value and their axes intersects the axis of the temple entryway, which was formed naturally along the stream. The temple buildings, each with its own unique characteristics, were built along the stream over time, forming three different spheres. This shows that diverse doctrine systems and sutras coexisted within this mountain temple.
Diamond Stairway and Daeungjeon Hall
Iljumun Gate
Cheonwangmun Gate
Beomjonggak Bell Tower
Manseru
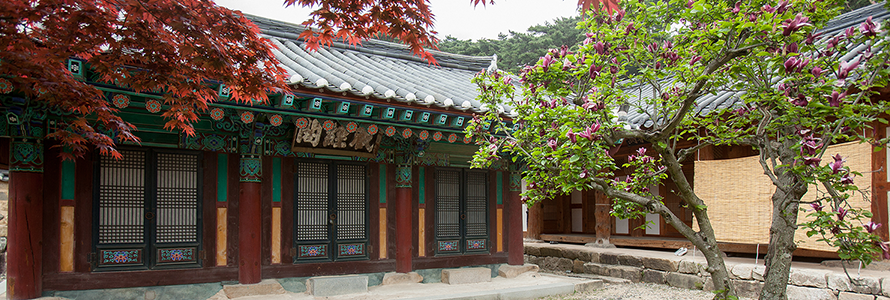
Garamgak
Yeongsajeon
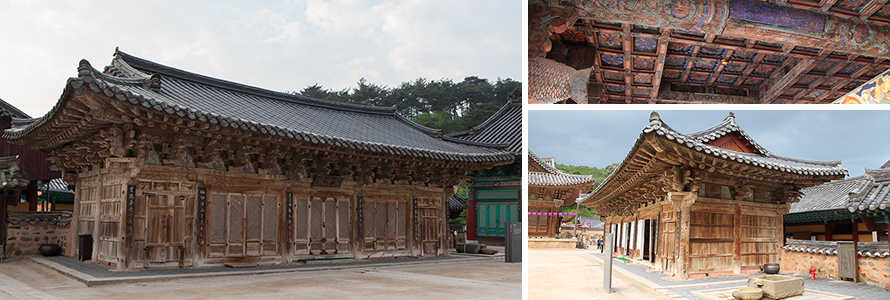
Geungnakbojeon
Yaksajeon
Burimun Gate
Gwaneumjeon
Yonghwajeon
Daegwangmyeongjeon
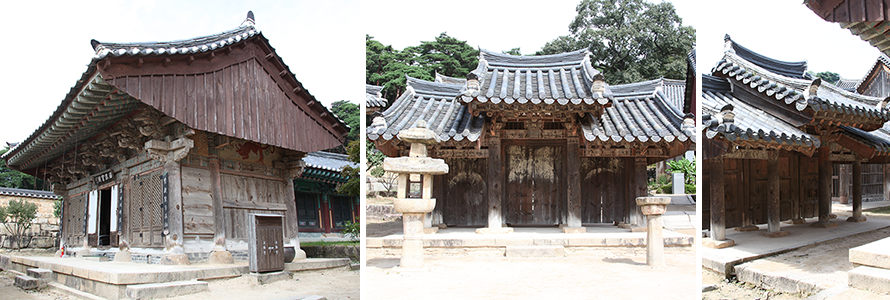
Gaesanjodang and Haejangbogak
Janggyeonggak
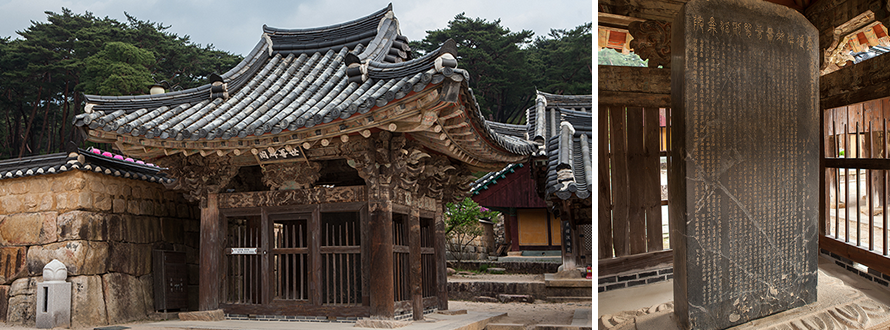
Sejonbigak (Monument for the World-Honored One)
Myeongbujeon
Eungjinjeon
Samseonggak
Yeonggak
Seolbeopjeon
Bogwangjeon
Tapjeon
Eumhyanggak
Illohyanggak
Hwanghwagak